Update
I wanted to share some pictures of the 2nd prototype. This unit still contains the generic Chinese charge controller that has sense been replaced. I did address the following:
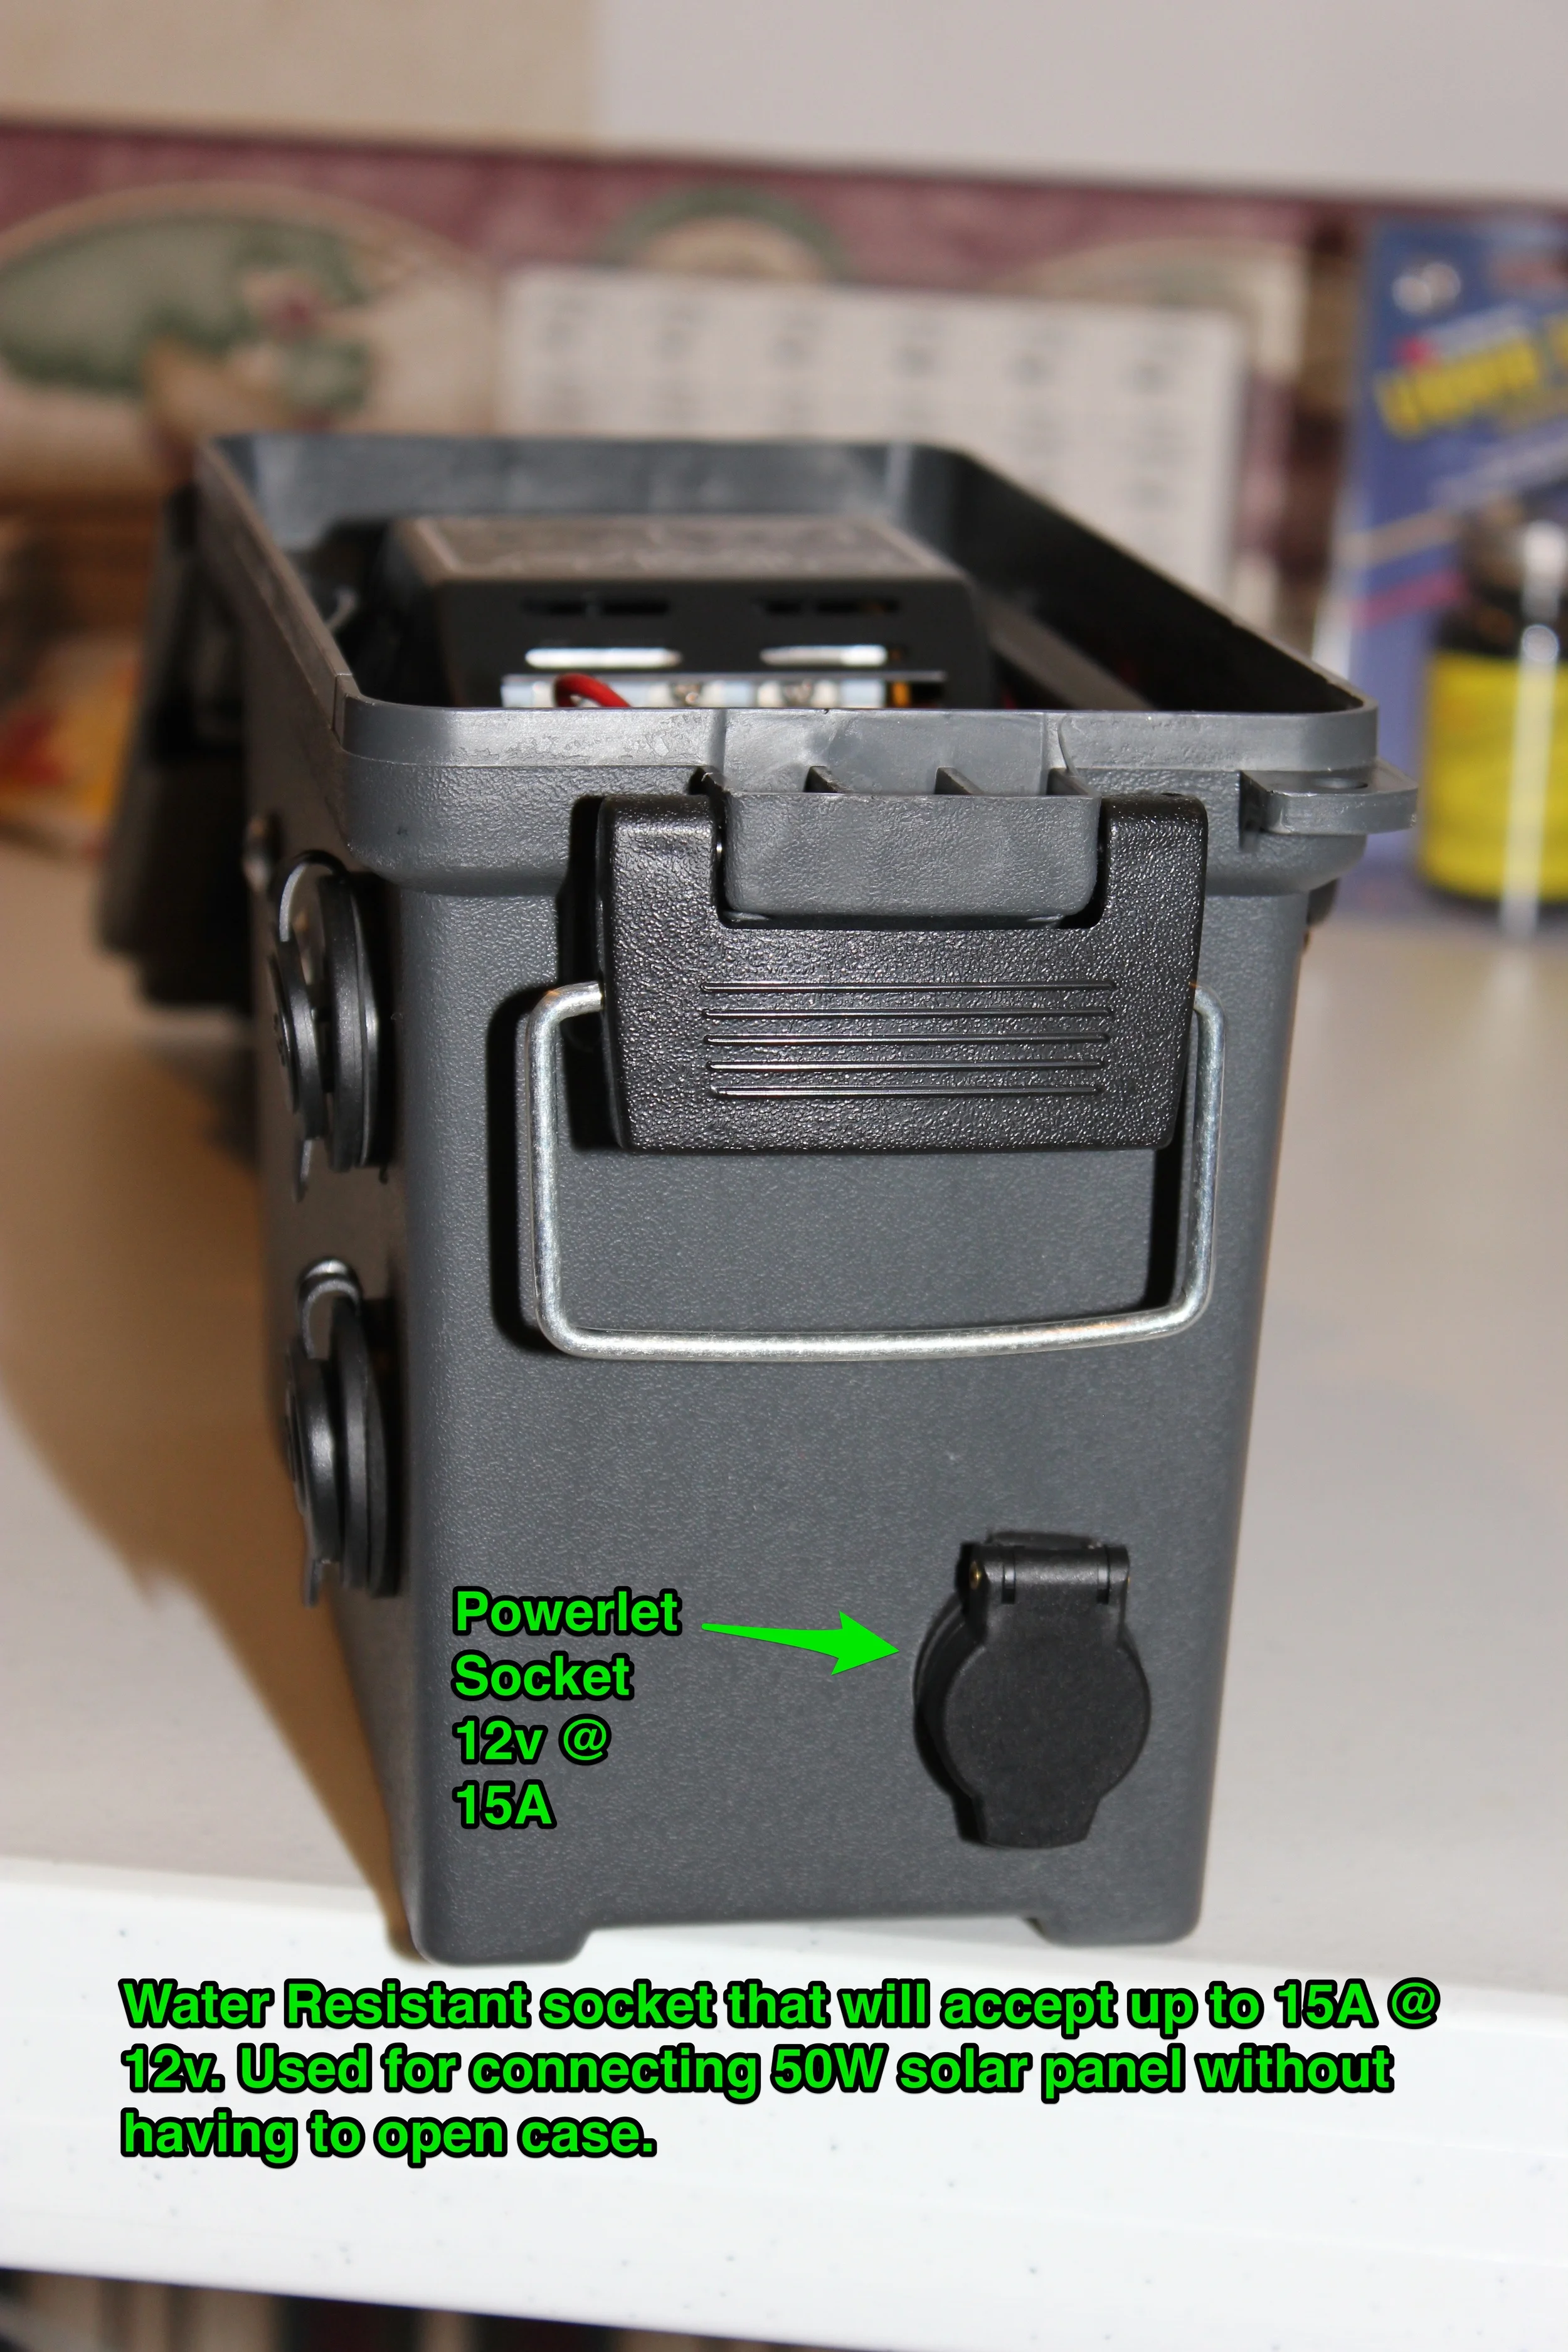
- Lid needed to opened for charging - this was address by using a Powerlet Socket and plug. I'm really happy with how this turned out. A good friend of mine were discussing my project and he made this suggestion. He's a motorcycle nut and knew this would do the trick.
- No breakers/fuses - I added a 10A inline fuse to the Powerlet Socket, 10A breaker coming from the battery that leads into the power switch.
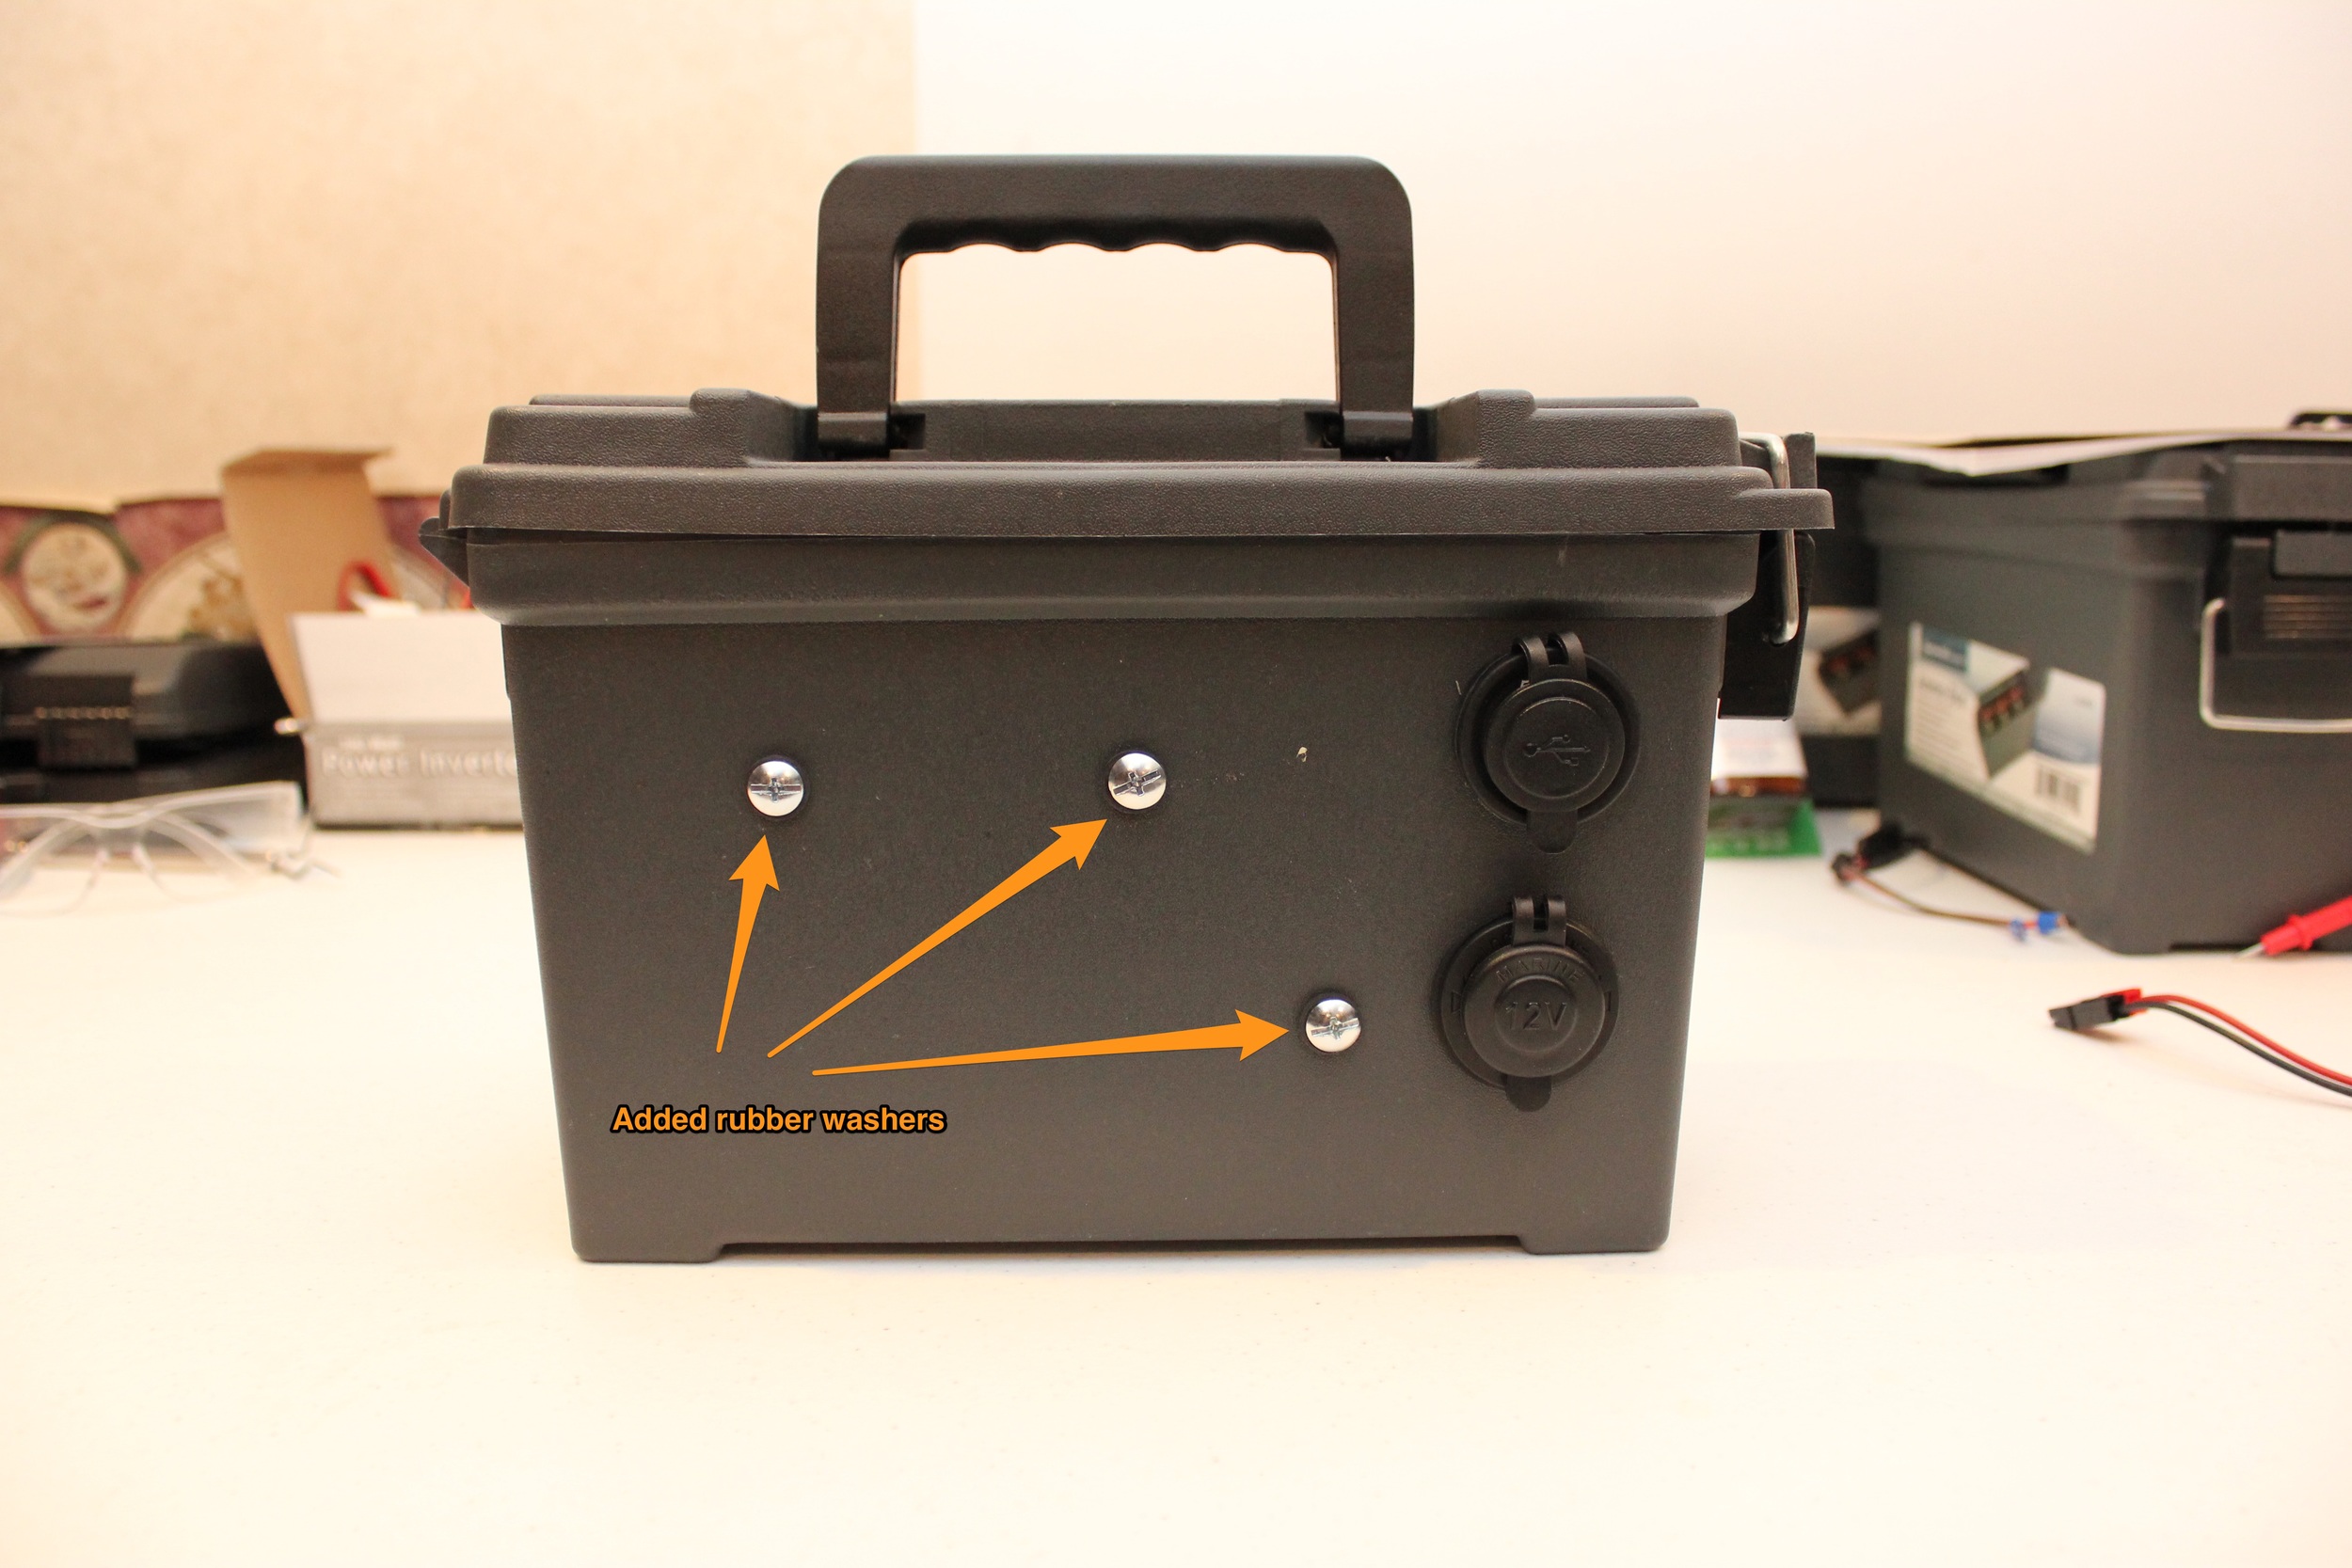
- Bolts sticking out of the side of case - This one took little bit of research. I found the solution by using a Sex bolt/Combo truss head (yes, that's what these are called). Worked perfect!
- No rubber gaskets on bolts - Picked some up locally.


Next Steps
I'll be uploading the final prototype pictures shortly. I'm working on the videos and will post as soon as they're done.